Here you will find the control scheme for the game.
Table of Contents
Controls
ChatHUD Overview
Features
- 📘 ChatHUD Overview
- ChatHUD is a powerful chat interface that serves three main purposes:
-
1. 💬 Chat Server Communication
Connects to a NoobHub chat server by default. If no special command is detected, it sends input as a standard chat message. -
2. 🤖 AI Interaction (GPT4All / Ollama)
Routes command-style input to either:
- GPT4All (default local model)
- Ollama (e.g. for character-based or advanced interactions)
Supports backend switching via commands like:
switch to gpt4all,switch to ollama -
3. 🖥️ Terminal-Like Commands with Autocomplete
ChatHUD includes an intelligent command-line interface supporting autocomplete. You can:
- Configure settings
- Toggle features
- Send commands like:set temperature to,enable music,quit game,set server to
Useful Commands
System Commands
set temperature toset max tokens toset model toset api url toswitch to gpt4allswitch to ollama
Feature Toggles
enable / disable touch controlsenable / disable performance modeenable / disable day nightenable / disable speech
NPC Interaction
talk to whiskers + question- Example:
talk to whiskers tell me about baron cogsworth
Messaging
send to channelsend to user + username + messageset username to + new usernameset server to + IP of the noobhub server
NoobHub Overview
What is NoobHub?
- 📘 NoobHub: Network multiplayer and messaging for CoronaSDK, Moai, Gideros, LÖVE & Defold
- GitHub Repository
How to Start NoobHub
-
Open ChatHUD:
- Press the guide key (gamepad), or
- Open pull menu > select "ChatHUD"

-
Select "Start NoobHub" from the contextual pull menu

-
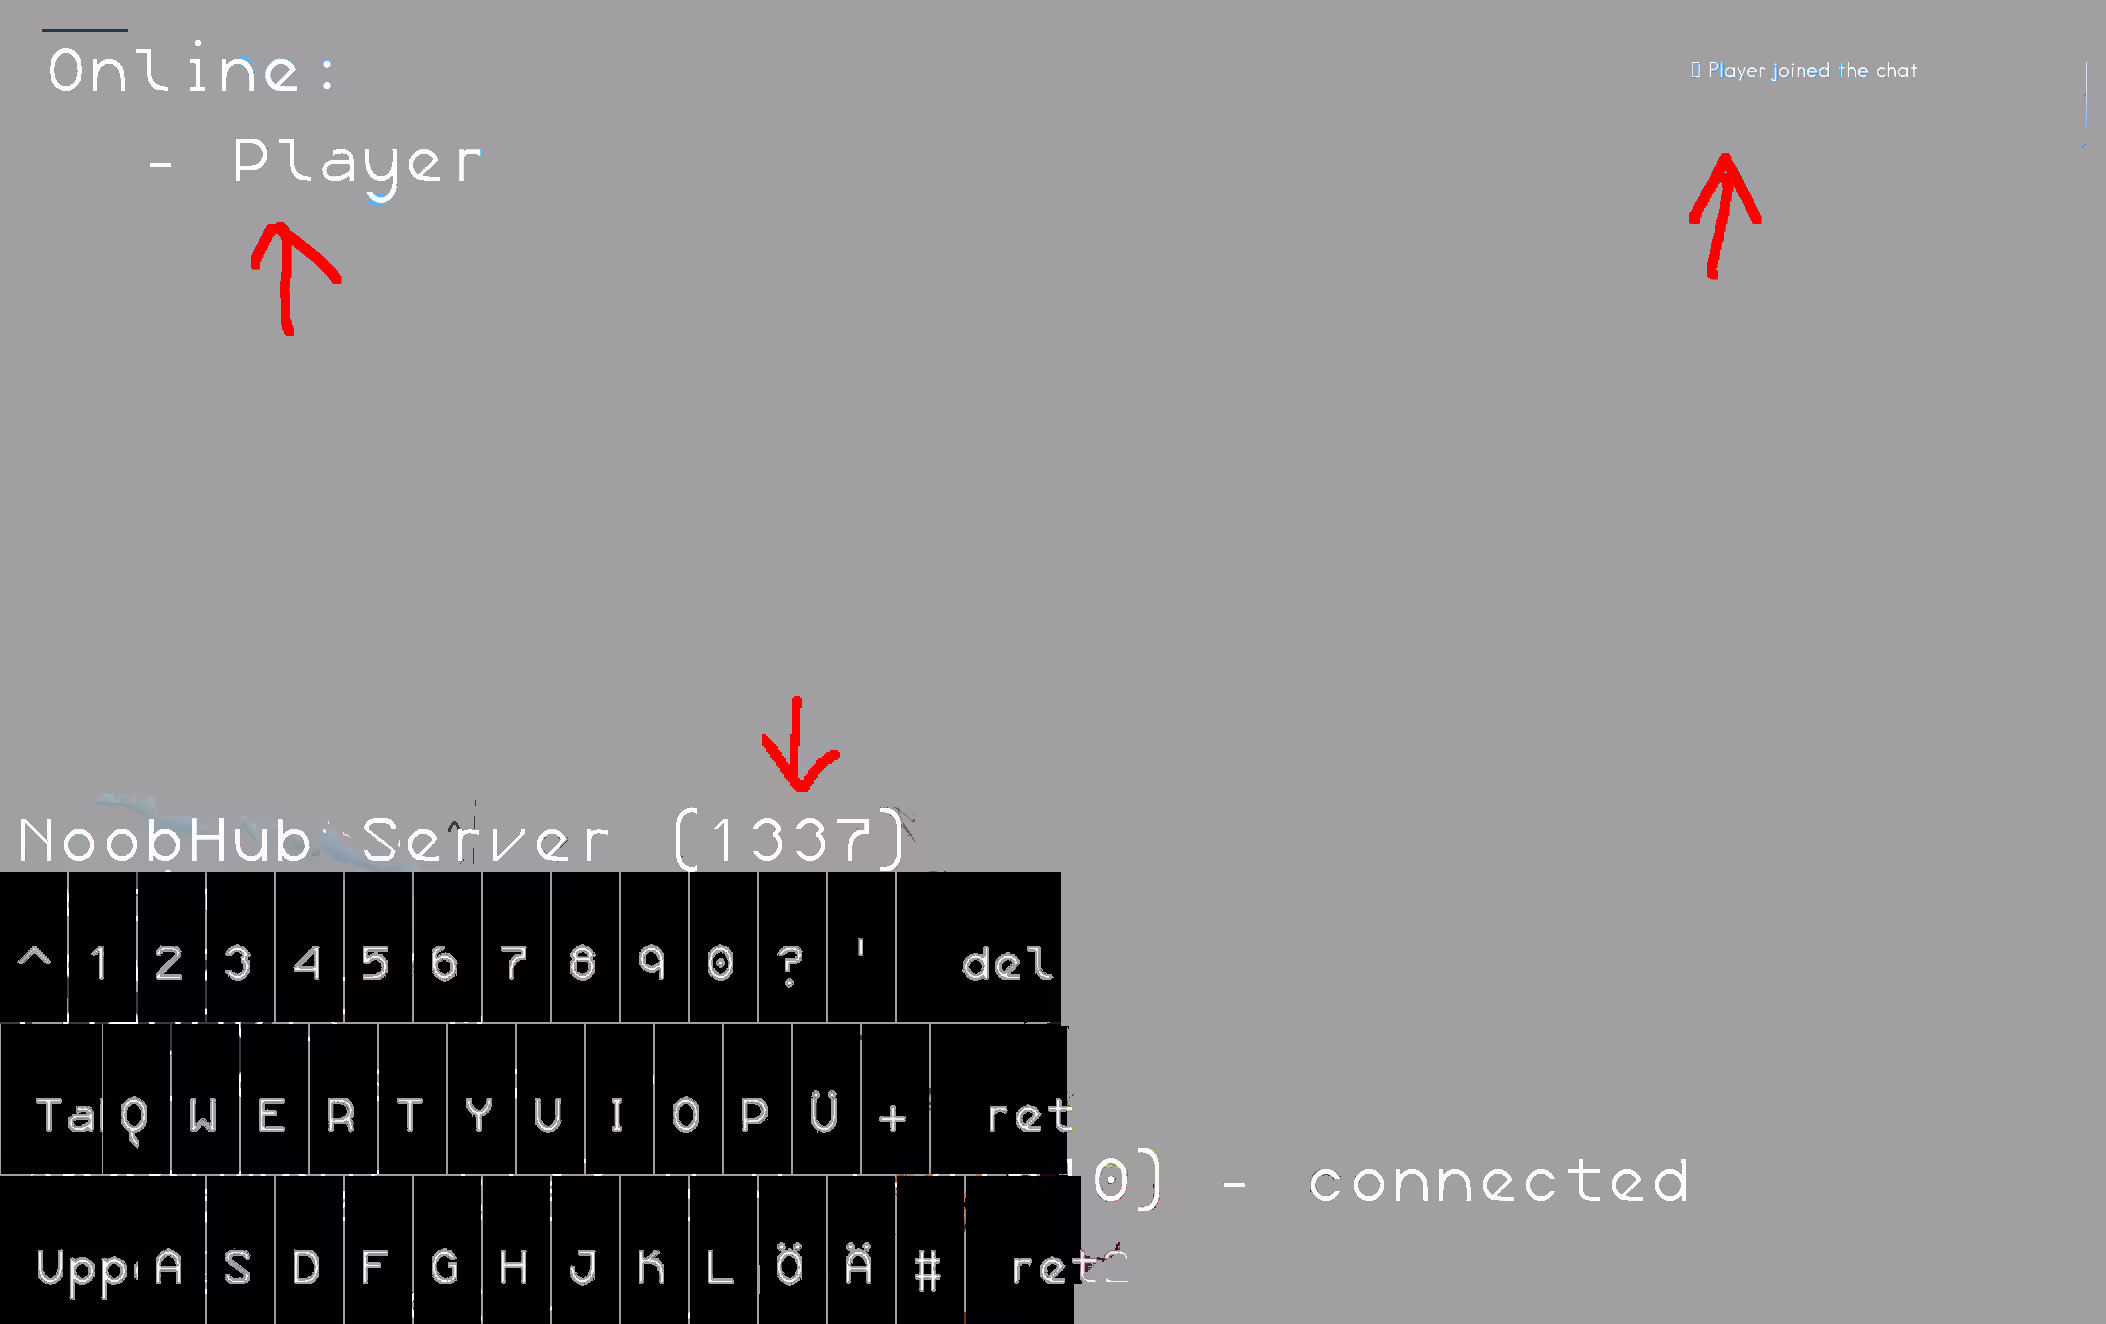
On successful start:
- You’ll see a notification that you've joined the main channel
- Your nickname appears in the user list
- The listening port is shown
Alternatively, run the original server from: src/extras/NoobHub/server/
- Follow instructions at: NoobHub GitHub
- Start it with:
nodejs node.js(requires Node.js)
Lua vs Node.js
🟦 Lua / LÖVE2D NoobHub
- Fully integrated—no external server needed
- Includes new features like message notifications
- Best for local or lightweight multiplayer/chat
🟧 Node.js Original Server
- Fully compatible
- Lacks newer features (e.g. notifications)
- Updates may favor the Lua version
🚀 Performance Notes
- Node.js: High concurrency, asynchronous, scalable
- Lua: Simpler, ideal for embedded or small-scale usage
Connecting to External Servers
set server to + IP— connect to external NoobHubsend to user + username + message— send private messagesset username to + new username— change nickname- By default, all messages go to the main channel
✅ Requirements:
- Install and run a local Coqui TTS server on port
5002. - Ensure your firewall or security settings allow local HTTP requests.
🔧 Setup Instructions:
- Install Coqui TTS:
You need Python 3.8+ andpip. Run:
pip install TTS - Start the TTS Server:
Use this command to launch the API server:
tts --model_name "tts_models/en/ljspeech/tacotron2-DDC" --vocoder_name "vocoder_models/en/ljspeech/multiband-melgan" --use_cuda false --port 5002 - Test the Server:
Visithttp://localhost:5002/docsto confirm it’s running. - How It Works In-Game:
- When an NPC speaks, the text is sent to the Coqui TTS server via HTTP.
- The response audio is saved locally as
output_audio.wav. - The audio is immediately played back using
love.audio.newSource.
📜 Internal Logic Summary:
- Spoken lines are added to a
speechQueueviaqueueTextToSpeech(text). processSpeechQueue()handles playback one at a time and callstextToSpeech(text, callback).- The system waits until each line is finished before continuing, using
audioSource:setFinishCallback(). - Music volume is restored after speech ends.
💡 Developer Tips:
- The audio is played from
output_audio.wav. If needed, you can update the filename per NPC or use in-memory audio with Love2D’sSoundData. - Callback support ensures that dialogue and actions can resume once speaking ends.
- You can customize cooldowns, audio fading, or background music handling in
processSpeechQueue.